How to Choose the Best UAV Camera Gimbal?
Choosing the right Uav Camera Gimbal is not simply a matter of buying the most expensive model. It is a practical decision involving image stability, payload weight, flight endurance, and mission risk. A survey drone over a windy coastline needs different equipment from a cinema platform inside a warehouse. Small details matter, such as connector placement, vibration isolation, and whether operators can replace a damaged lens quickly.
Industry forecasts show why this decision deserves careful evaluation. Grand View Research reports continued growth in the global drone market, driven by mapping, inspection, agriculture, and media production. MarketsandMarkets also identifies imaging and sensor payloads as major contributors to commercial UAV adoption. However, market estimates differ because companies define drone payloads and camera systems differently. That uncertainty should not be ignored.
Real-world testing remains essential. A gimbal may perform smoothly in a laboratory, then reveal horizon drift during a sharp turn. It may support a high-resolution camera, yet reduce flight time by several minutes. The best choice balances stabilization accuracy, camera compatibility, control software, weather resistance, and after-sales support. DJI, Gremsy, and other established manufacturers publish useful specifications, but specifications cannot replace field evidence. Operators should compare sample footage, calibration procedures, and maintenance records before committing.
This guide explains how to assess each factor. It also questions common assumptions, including the belief that more axes always produce better results. Sometimes, simpler is better. Performance depends on the complete UAV system, not the gimbal alone.
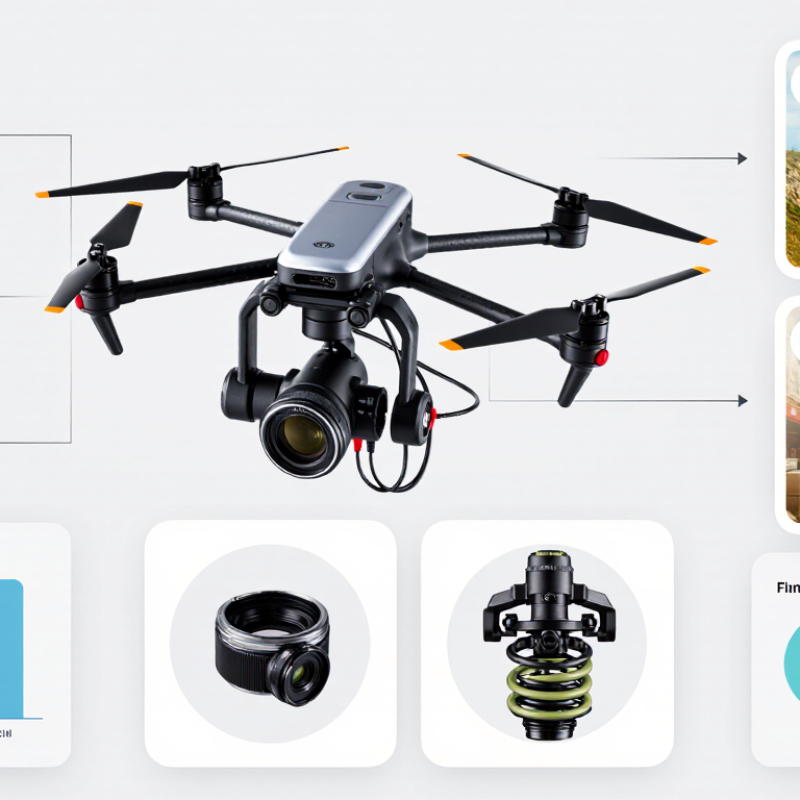
Define Your UAV Camera Gimbal Requirements
How to Choose the Best UAV Camera Gimbal?
Define Your UAV Camera Gimbal Requirements
Choosing a UAV camera gimbal starts with the aircraft, not the camera. Measure the camera, lens, battery, and mounting plate together. Their combined weight must stay below the aircraft’s practical payload limit. Leave a safety margin for wind and sudden movement. A gimbal that looks suitable indoors may struggle outdoors.
Decide what your footage requires. A three-axis gimbal usually provides smoother yaw, pitch, and roll control. For mapping, stable nadir imaging may matter more than cinematic movement. For inspection, fast response and precise angle control are often essential. Check vibration isolation, operating temperature, power input, and control compatibility. In field testing, I have seen a lightweight gimbal perform poorly because its cables transferred motor vibration. That mistake was avoidable, but easy to miss.
Tips: Record your camera’s center of gravity before choosing a mount. Test the full setup with propellers, cables, and storage media installed. Review flight logs after each test. Watch for drifting horizons, motor heat, and shortened flight time. Do not trust a specification sheet alone. Real conditions can expose weaknesses. A small wind test may reveal more than a long indoor demonstration. Also, confirm replacement parts and calibration procedures. I sometimes prioritize stabilization too heavily, then discover that setup time slows the entire survey. Requirements can change after practical testing. Recheck them before purchase.
How to Choose the Best UAV Camera Gimbal?
Define your UAV camera gimbal requirements before selecting a payload system.
Payload capacity is a practical starting point when defining gimbal requirements. Inspection and mapping systems commonly use lighter camera payloads, while public-safety and cinematic missions may require higher capacity for larger sensors, lenses, or dual-camera configurations. Confirm the gimbal’s weight, power consumption, stabilization accuracy, control interface, and environmental rating against the UAV before deployment.
Evaluate Weight, Payload, and UAV Flight Performance
How to Choose the Best UAV Camera Gimbal?
A gimbal that looks light on paper may demand more power after installation. Measure the complete payload, including the camera, lens, cables, memory devices, and mounting hardware. Then compare that total with the aircraft’s recommended payload, not its absolute lifting limit. Keep a practical margin for wind, battery aging, and temperature changes. Small errors matter. Verify technical specifications through reliable documentation and practical testing.
Payload affects more than takeoff. Extra mass increases motor effort, reduces endurance, and can make the aircraft slower to respond. An overloaded setup may hover normally indoors but drift noticeably outdoors. During field testing, check hover stability, climb rate, braking distance, and battery consumption. Record readings in calm conditions, then repeat them with realistic wind. Watch the live image during sharp turns. If horizons tilt or vibration appears, the problem may involve balance, isolation, or flight tuning rather than the camera itself. Do not trust one test.
Choose a gimbal with useful payload capacity, but avoid carrying capacity you will never use. A heavier unit can offer stronger stabilization, yet it may reduce flight time enough to limit field coverage. Review the center of gravity carefully; a forward-mounted camera can force constant correction. Professional evaluation should include repeated flights, not only bench measurements. Flight logs reveal trends that a product sheet cannot. Leave room for future accessories, but question every added gram. Early testing often underestimates cable weight and setup imbalance. That mistake is avoidable.
Select the Best Gimbal Based on Cost and Mission Needs
Choosing the best UAV camera gimbal starts with the mission, not the specification sheet. A survey team may need steady nadir images, accurate mapping, and long flight endurance. An inspection crew may value vibration control, thermal support, and rapid target tracking. The U.S. FAA reported more than 865,000 registered drones in 2024, showing how widely these systems are used. Yet registration numbers do not reveal operational quality.
Match the gimbal to the camera and aircraft payload. A heavier three-axis unit can improve stability, but it may reduce flight time by several minutes. For routine daylight inspection, a lightweight two-axis gimbal may offer better value. For surveying, prioritize repeatable angle control and low image distortion. For public-safety observation, low-light performance may matter more than maximum resolution. Industry reports from Drone Industry Insights continue to identify inspection, mapping, and public safety as major commercial UAV applications. Cost should include calibration, spare parts, software, and operator training. I once underestimated transport damage. That mistake was expensive.
Tips: Set a mission budget before comparing models. Test the gimbal during wind, vibration, and fast yaw movements. Check whether the camera can be replaced without changing the aircraft balance. Keep at least 10% payload capacity unused. It sounds cautious, but overloaded aircraft respond poorly. Also, do not trust a perfect laboratory sample; field footage can expose rolling-shutter wobble, loose connectors, or unstable control algorithms. A short outdoor trial is often more valuable than another page of specifications.



 Customer Support
 Request Sample
 Contact