


Design and development by Raincastle Communications.

A dental 3D printer is a specialized machine that turns digital dental designs into physical appliances. It may produce surgical guides, models, temporary crowns, dentures, or orthodontic components. Unlike a traditional milling machine, it builds objects layer by layer. The process usually begins with an intraoral scan or a laboratory scan. Dental software then creates a digital model. A technician checks the design before sending it to the printer.
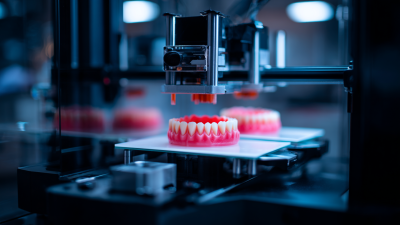
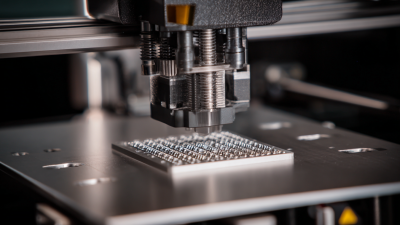
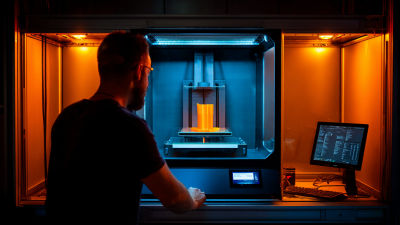
Chuck Hull, the inventor of stereolithography, described the principle clearly: “I wanted to make a machine that could make parts directly from computer data.” His idea now supports modern dental manufacturing. In a typical workflow, slicing software divides the model into thin layers. The dental 3D printer then cures liquid resin with light, or deposits another approved material. Each layer joins the previous one. Slowly, a detailed object appears inside the build chamber.
The process looks simple. It is not.
After printing, the appliance may require washing, support removal, post-curing, polishing, and inspection. Material selection matters. So do exposure settings, temperature, calibration, and operator training. A missed scan can become a precise mistake. A clean-looking model can still contain hidden inaccuracies. Dentists and laboratories must follow the material manufacturer’s instructions and applicable clinical standards. This guide explains what a dental 3D printer does, how its main technologies work, and where its practical limits appear. The technology saves time in many workflows, but it does not replace clinical judgment. That part still needs a human.
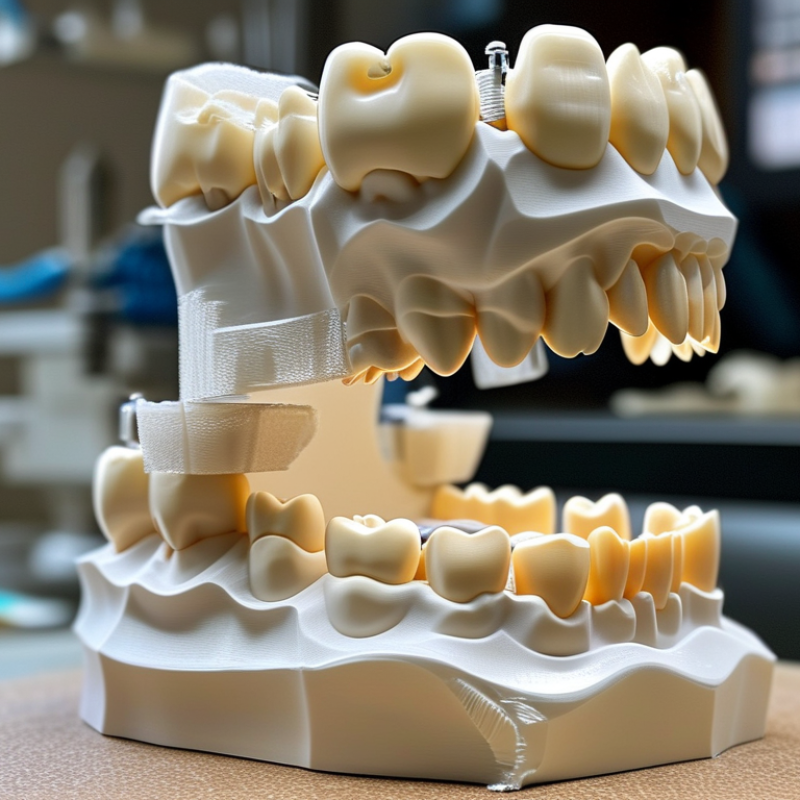
What Is a Dental 3D Printer and How Does It Work?
A dental 3D printer is a specialized machine that turns digital dental designs into physical objects. Dentists or technicians create these designs from intraoral scans, impressions, or cone-beam imaging. Software then divides the model into many thin layers. The printer builds each layer with light-cured resin, powdered material, or another approved medium.
What does it produce? Common outputs include study models, temporary crowns, surgical guides, denture bases, orthodontic appliances, and custom trays. Each object serves a different clinical purpose. A study model may help plan treatment, while a surgical guide can help control drill position. Some printers produce final-use devices, but only with suitable materials, validated workflows, and professional oversight.
The process needs careful handling. After printing, a technician may wash, cure, polish, trim, or heat-treat the object. Small support marks can remain on a model. A slight scanning error can also affect the final fit. It is not magically precise. Regular calibration, clean equipment, and documented quality checks improve reliability. In my view, the printer is only one part of the system; accurate scanning, thoughtful design, and skilled inspection matter just as much. Different printers also have different limits, so one machine cannot produce every dental object safely or accurately.
| Dental 3D Printing Technology | How It Works | Typical Layer Height | Common Dental Outputs | Typical Post-Processing | Main Considerations |
|---|---|---|---|---|---|
| Stereolithography (SLA) | A laser selectively cures liquid photopolymer resin layer by layer inside a resin vat. | Approximately 25–100 micrometres | Diagnostic models, surgical guides, orthodontic models, provisional restorations, and selected splints | Washing, support removal, and controlled UV post-curing | Requires validated, application-specific resin and careful control of curing and shrinkage. |
| Digital Light Processing (DLP) | A projected light image cures an entire resin layer at once rather than tracing each layer with a laser. | Approximately 35–100 micrometres | Dental arches, study models, surgical guides, night guards, orthodontic appliances, and temporary restorations | Washing, support removal, and UV post-curing according to the resin instructions | Print speed can remain relatively consistent across a build area, but detail depends on pixel size and optical calibration. |
| Liquid Crystal Display (LCD/MSLA) | An LCD mask controls ultraviolet light exposure so that selected areas of a resin layer cure simultaneously. | Approximately 25–100 micrometres | Models, orthodontic trays and molds, surgical guides, temporary restorations, and selected dental appliances | Washing, support removal, UV post-curing, and inspection for uncured resin | Consumable screens and light uniformity affect dimensional accuracy and service life. |
| Material Jetting | Small droplets of photopolymer are deposited and cured with light, often allowing multiple materials or colors. | Approximately 16–32 micrometres | Highly detailed study models, anatomical demonstrations, and educational or planning models | Removal of support material, cleaning, and visual or dimensional inspection | Can provide fine detail and color, but material costs and workflow complexity are comparatively high. |
| Fused Filament Fabrication (FFF/FDM) | A heated nozzle deposits thermoplastic filament in successive layers that cool and solidify. | Approximately 50–300 micrometres | Large diagnostic models, educational models, laboratory fixtures, and non-patient-contact prototypes | Support removal, trimming, sanding, and optional surface finishing | Usually offers lower cost, but visible layer lines and anisotropic strength can limit clinical applications. |
| Selective Laser Sintering (SLS) | A laser fuses powdered polymer selectively, with surrounding powder supporting the printed geometry. | Approximately 60–120 micrometres | Durable prototypes, laboratory components, and selected non-direct-contact dental parts | Powder removal, brushing or air cleaning, and surface finishing when required | Useful for complex geometries without printed supports, but surface texture and material validation are important. |
Note: Layer heights and applications are typical industry ranges. Actual performance depends on the printer configuration, material, geometry, calibration, software settings, and required regulatory validation.
Design and development by Raincastle Communications.
 Customer Support
 Request Sample
 Contact