contact-button

7 Tips for Choosing a DLP Resin Printer

Choosing a DLP resin printer is not just a matter of comparing resolution numbers. DLP technology uses projected light to cure resin layer by layer, but the result also depends on optics, calibration, resin settings, and model design. A tiny pixel specification may look impressive; it does not guarantee clean edges on every print. Small details matter.

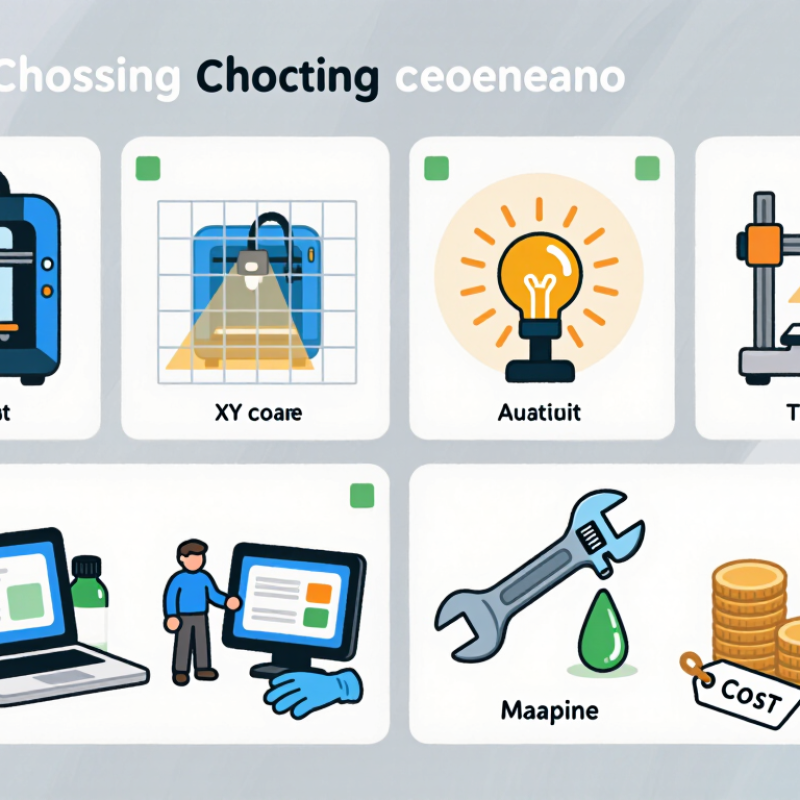
This guide offers seven practical tips for evaluating a dlp resin printer before you buy. It looks at build volume, XY resolution, light-source performance, supported resins, software, maintenance, and the real cost of ownership. A useful comparison includes more than the printer’s advertised speed. Check whether replacement parts are available, how clearly the manufacturer documents calibration, and whether sample files show realistic results. A crisp miniature and a large functional prototype place different demands on a machine.

Think about your workspace, too. Resin handling requires care, and cleanup adds time that product listings rarely emphasize. That can change your routine. The best choice is not always the most expensive model or the one with the sharpest headline specification. It is the printer whose capabilities match your typical projects and whose limitations you understand. No single machine suits every workshop. Use the tips that follow to compare evidence, ask better questions, and avoid buying based on one attractive number. Even careful research has gaps; hands-on test prints can reveal issues a specification sheet cannot.
7 Tips for Choosing a DLP Resin Printer

Understand How DLP Resin Printing Works

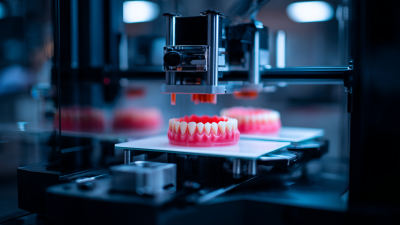
Digital Light Processing, or DLP, cures liquid photopolymer resin with projected light. A digital image shines through a transparent vat bottom, hardening selected areas into one layer. The build platform then lifts or shifts, fresh resin flows beneath it, and the next image is exposed. Layer by layer, the object takes shape. Small steps matter.

Unlike a laser that traces each cross-section, a DLP projector can expose many points at once. This can make printing relatively quick, though speed depends on layer settings, resin, and the machine. Detail depends partly on projected pixel size: smaller pixels can capture finer features within the projection area. A 50-micron layer height describes vertical steps, not the smallest possible detail across the surface. That distinction is easy to miss.

The process is elegant, but not effortless. Each layer must separate cleanly from the vat, so orientation and supports affect reliability. Large flat surfaces can increase separation forces; a slight tilt may help. After printing, parts usually need washing and additional light curing, following the resin maker’s instructions. Resin can be messy, too. Gloves, eye protection, and good ventilation make handling more controlled. A crisp preview does not guarantee a crisp part; exposure, resin condition, and support placement still matter.
Define Your Part Requirements and Desired Print Volume

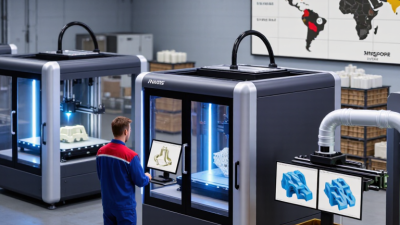
Before comparing DLP resin printers, write down what each part must do. Record its dimensions, smallest features, acceptable tolerances, surface finish, and expected loads. A miniature gear needs crisp teeth; a fluid-channel component may need clear passages and leak-resistant walls. Also account for washing and post-curing, which can affect final dimensions. Measure twice. One requirement is easy to overlook: whether parts must perform consistently across repeated batches.

Tip: Estimate monthly output, then plan around actual build layouts. Include support structures, spacing, failed prints, and time for resin handling. A printer’s advertised build volume is not the same as usable production capacity. If parts fit only when packed tightly, leave room for support removal and inspection. Run a small test batch before committing to a larger workflow.

Use a typical production batch, not your largest single part, to compare build volumes. Wohlers Report 2024 estimated that the global additive manufacturing industry reached $20.035 billion in 2023, an 11.1% increase from 2022. That figure covers many technologies, not DLP alone, but it reflects a growing need to assess production needs carefully. Compare candidate printers using the same parts, resin, orientation, and post-processing steps. Keep some capacity in reserve. It may feel wasteful, but a nearly full build can leave little room for urgent reprints.

7 Tips for Choosing a DLP Resin Printer - Define Your Part Requirements and Desired Print Volume

Tip Planning Factor Questions to Answer How to Estimate the Requirement Example or Decision Guide
1 Measure the largest part What are the maximum length, width, and height of the part, including features that cannot be removed? Measure the part in its intended orientation. Allow extra room for supports and clearance from the build-area edges. A part measuring 90 × 60 × 40 mm needs a usable build area larger than those dimensions in the selected orientation.
2 Define the required build volume Will you print one large part, several small parts, or a combination in each job? Compare the printer’s usable build-area dimensions and build height with the total supported layout—not just the parts’ bounding boxes. For a batch of small parts, check whether the complete supported arrangement fits within the platform’s usable area and height.
3 Estimate batch size How many parts must be completed per day or per week? Estimate parts per build from the available platform area, spacing, support footprint, and chosen orientation. Then compare the expected number of builds with your schedule. If a workflow requires 40 parts per week and a practical build holds 10, plan for about four successful builds per week, plus time for post-processing.
4 Check the Z-height requirement What is the tallest supported print, and how much vertical room do its supports require? Include the part, supports, raft or base, and any required clearance when comparing total height with the printer’s stated build height. A 120 mm part may require more than 120 mm of build height when it is angled and supported.
5 Choose the print resolution for the features What is the smallest feature that must be reproduced, and which surfaces need fine detail? Compare the printer’s stated pixel size and layer-height options with the part’s smallest features. Confirm critical dimensions with a test print. A fine-detail model may benefit from smaller pixels and thinner layers; these settings can increase build time and should be tested with the intended resin.
6 Account for orientation and supports Can the part be tilted or divided to improve fit, surface quality, or support placement? Review the supported model in slicing software. Check for platform conflicts, support access, suction-related risks, and areas that need special surface treatment. Tilting a part may reduce the footprint but increase its required height, so verify both build-area dimensions and Z clearance.
7 Allow for material and process validation Does the material meet the part’s mechanical, thermal, or visual needs, and can the process reproduce the required dimensions? Confirm resin compatibility and recommended washing and post-curing procedures. Test representative parts because dimensional change and properties depend on the resin and process. For a close-fitting assembly, print and measure a representative test piece before committing to a full batch; do not assume nominal CAD dimensions will transfer unchanged.

Compare Resolution, Print Speed, and Resin Compatibility

A DLP resin printer can produce crisp edges, but resolution numbers need context. Tip 1: Check the projected pixel size across the build area, not just the advertised resolution. A smaller pixel can preserve tiny lettering on a test part. Tip 2: Compare layer height too. Fine layers may reduce visible stepping, though they do not automatically improve every surface. Look closely at sample prints.

Print speed depends on more than a headline figure. Tip 3: Ask how long a typical part takes, including exposure and platform movement. Tall prints need many layers; broad cross-sections can also affect exposure time. Tip 4: Match speed claims to the resin you plan to use. A fast setting that causes weak supports or soft details is not really faster. Small test prints help. They are worth the resin.

Tip 5: Confirm that the printer’s light wavelength and resin are compatible. Tip 6: Check whether the resin has tested exposure settings, and whether its viscosity suits the machine’s vat and temperature range. Tip 7: Consider the materials you will actually print, such as flexible or high-detail resin, rather than choosing by a long compatibility list alone. I have found that settings still need adjustment between batches. That part is easy to underestimate.

7 Tips for Choosing a DLP Resin Printer: Resolution, Print Speed & Resin Compatibility

Check that the printer’s light source matches the resin’s specified curing wavelength. Common UV wavelengths for resin printers include 385 nm and 405 nm.

How to use this chart: Treat these as common wavelength options, not a guarantee that every resin will work with every printer. Check the resin datasheet for its curing wavelength. For resolution, compare XY pixel size (smaller pixels can capture finer details) and layer thickness. For print speed, compare manufacturers’ estimates only when resin, layer settings, and model geometry are similar.

Assess Software, Safety Features, and Maintenance Needs

Choosing a DLP resin printer means judging its workflow, not just its advertised resolution. Check whether the slicer supports editable supports, reliable file repair, and clear exposure settings. Try a test print with fine text and narrow openings; inspect the exported file before committing to a full build. Wohlers Report 2024 put the global additive manufacturing industry at $20.035 billion in 2023, up 11.1% from 2022. That growth signals a maturing field, but it does not guarantee good software or responsive technical support. Ask how updates are delivered and whether older projects remain compatible. Small detail, big difference.

Safety should be practical, not decorative. Look for a covered resin vat, a lid interlock, and clear instructions for ventilation and protective equipment. Uncured resin can irritate or sensitize skin, so keep gloves, absorbent wipes, and a labeled waste container within reach. A faint odor is not a reliable exposure gauge. Check the safety data sheet for each resin. Maintenance deserves equal scrutiny: ask how often the optical window needs cleaning, how filters are replaced, and whether the vat film is sold separately. Budget for these parts and routine downtime. I would also ask to see the cleaning steps in person; a polished manual can still leave awkward gaps around spills.

Compare Total Costs, Warranty, and Technical Support

A DLP resin printer’s purchase price is only the starting point. Compare the full cost over a year, including resin, replacement vat film, build platforms, cleaning supplies, and routine calibration. Ask how often consumable parts need changing under your expected print volume. Small details matter. A low-cost machine can become expensive if common parts are difficult to source or shipping takes weeks.

Read the warranty terms before comparing coverage. Check which components are included, how long coverage lasts, and whether labor or return shipping is your responsibility. Ask what happens if a projector or control board fails during a busy production period. Get the answer in writing. Warranty language can sound reassuring while leaving important costs unclear, so review the exclusions carefully.

Technical support also affects the real cost of ownership. Find out whether help is available by phone, email, or remote session, and what hours the team works. Ask how quickly typical service requests receive a response, and whether setup guidance or operator training is included. A printer may be easy to install, but troubleshooting a failed exposure test is different. Keep a little room in your budget for downtime; estimating it precisely is difficult, and my comparison may still miss an unexpected repair or delay.